

One day, while mindlessly looking to pass the time, I stumbled upon a YouTube video entitled “A Working Camera AND Film Made of Potatoes.” That video, made by the YouTube channel The Thought Emporium, stood out to me, inspiring me to seek out to recreate and rework some of the methods used.
Anthotypes are a type of print made with photodegrading pigments. They have been around since the mid-18th century and are quite easy to make. It works like any normal print; you paint an image with your pigment of choice, put an object on top, and lay it out in the sun. Then the sun hits the exposed parts and changes the color.
I made my first anthotype using turmeric. I mixed some turmeric and rubbing alcohol, coated a sheet of printer paper with it, laid it on a windowsill, then laid a few pieces of rosemary on it. The sunlight hit the turmeric-dyed paper and caused it to fade into a pale yellow. Meanwhile, the parts of the paper covered by the turmeric remain the original deep yellow shade. A day later, the shape of the rosemary will imprint onto the paper, like a permanent shadow. I thought it was cool and wanted to continue.
I kept making prints until the pieces of rosemary were too old and shriveled to keep around. Alongside rosemary, I of course experimented with other plants and objects. Catnip projects a very nice image onto the paper, though an apple does not.
Cyanotypes were invented in 1842, a little after anthotypes. They are created by mixing potassium ferricyanide and ferric ammonium citrate, two scary-sounding chemicals that are harmless as long as you have the common sense not to drink them. The chemicals are boring themselves, but when mixed together, they create a pale, blue-green photosensitive mixture. When exposed to ultraviolet light, the mixture then turns blue, then a dry muddy brown. The real magic happens when you wash whatever you have dyed with water. The unexposed green parts wash off easily, but the blue and brown parts will change into a deep Prussian blue, dying whatever surface you’ve painted the mixture on.
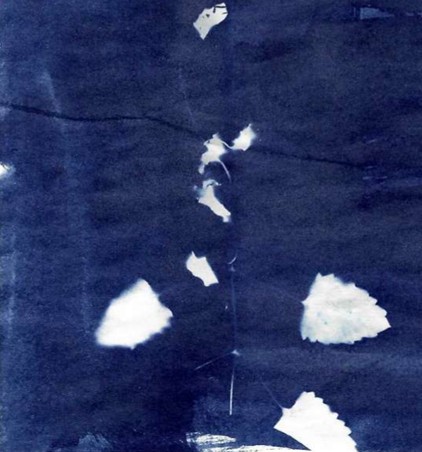
The cyanotype process was historically mostly used to create prints and photographs. Architects would create copies of their designs by creating the notably blue cyanotype prints, leading to the name ‘blueprint.’
Eventually, I ran out of objects to print and I decided that I wanted to take a real photograph — no more photograms for me. However, there were a few obstacles in between me and my new goal: I didn’t have a camera, and I didn’t have film.
Camera film works by reacting to light. The more light that hits a part of the film, the darker that part of the film becomes. This forms an inverted image on the film where brightly-illuminated surfaces are darker than dimly-illuminated surfaces. Of course, if you threw a piece of film on the table by itself, it wouldn’t take a picture. It would be bombarded with light from every angle and every direction, and the net result would be a solid shade. What you need for the film to work is a camera to let in and direct only the rays of light that you want. Most cameras accomplish this with a convex lens that bends the beams of light to hit the film exactly right to create an image. Like most people, I didn’t have a camera lens lying around. Luckily, most households do have another kind of convex lens: a magnifying glass. I had one, but for good measure, I went and bought a few cheap ones of various different shapes and sizes.
You can see the projecting effect of a magnifying glass yourself. If you take a white piece of printer paper, hold it up by a window, and hold the magnifying glass up between the paper and the window, an image of the outside world will be projected onto the paper. You can experiment by moving the magnifying glass towards and away from the paper to make the image more focused.
After repeating this experiment with a few different magnifying glasses, I found one that worked best and set it aside. It was small for a magnifying glass, maybe three-quarters of an inch in diameter. I attached it to the front of a camera sized black box made out of construction paper, making sure that it was entirely lightproof. The black color would absorb the maximum amount of light and hopefully keep the inside of the box and the photo dark.
To keep with the homemade theme, I used the same cyanotype prints. This obviously had multiple red flags: long exposure times, fuzzy images, and overall weird results. A normal cyanotype takes only five to ten minutes, but I had no idea how long a cyanotype with a magnifying glass’s worth of light would take. It turns out that it takes around ten days. I set up a UV lamp pointing at the subject, in order to maximize the number of rays hitting the cyanotype. The initial results are confusing and mildly resemble ink-blot tests.
Some of my best results came from pointing the ‘camera’ at some flowers (fake ones, because real flowers would wilt before the photo had been taken).
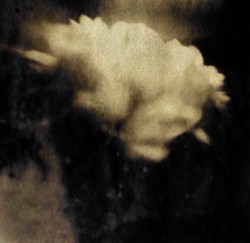
I tried taking some outdoor scenes as well, but it did not occur to me that pointing a magnifying glass at a piece of paper behind the sun was a bad idea. That disaster led to the fiery end of my first cardboard box camera.
You could also use a pinhole for the same purpose, however, by letting much less light in. Any film would need a longer exposure time. The pinhole effect, also called camera obscura, has been used by artists for centuries in order to create a projection of something they wish to paint. It was only in the 19th-century, with the development of photosensitive materials, that the pinhole was used for photography.
I did try taking a photo with just a pinhole. It took absolutely forever to expose. You can see the results for yourself.
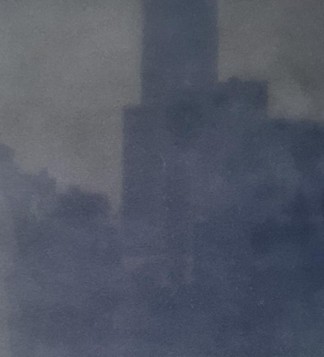
The cyanotype photos may seem odd, but I was ecstatic about them. I felt as if I was reinventing photography. Eventually, I ran out of bright reflective subjects to photograph and was too impatient to keep waiting weeks for each photo. My grandmother had an old box camera that she offered to give to me. The camera she gave me was a Kodak 616 Brownie Jr. I accepted the offer happily, as it was a large upgrade from my paper box with a magnifying glass.
With the Brownie Jr. came the end of the direct cyanotype prints. Film was in, and my cyanotype workarounds were out. Almost all modern film cameras use 35mm film, although older cameras might use 120 film (which, confusingly, is 60mm). The Brownie Jr, as the full name suggests, takes 616 film. 616 film is an invention by the Kodak company originally made for postcard sized photos. It quickly became obsolete, with its production finally ending in 1984. Luckily, 120 film with a few 3D-printed plastic converters is close enough to 616 to fit in the camera.
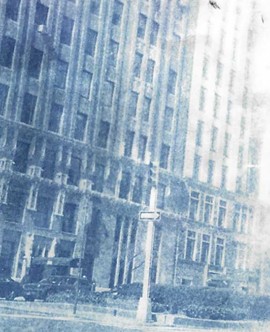
Developing film is relatively simple, but just a small timing error could ruin the negatives. Once I mistakenly swapped the time that the film needed to be soaked in two different solutions and ruined a roll of photos that I had taken in France. I would print the positives with cyanotypes, partly because I liked the old feel to the photos, but also because I had lots of the cyanotype solution left.
Since my photographs would always look old, I figured I would stick with the theme and try not to take a photo of anything that would seem anachronistic. Many buildings in Manhattan fit the theme nicely.
The Kodak Brownie Junior was nice to use, but in reality, it was never designed to be a good camera. Its design, shape, and film size were all made to match the dimensions of a postcard. It was meant for vacation photos.
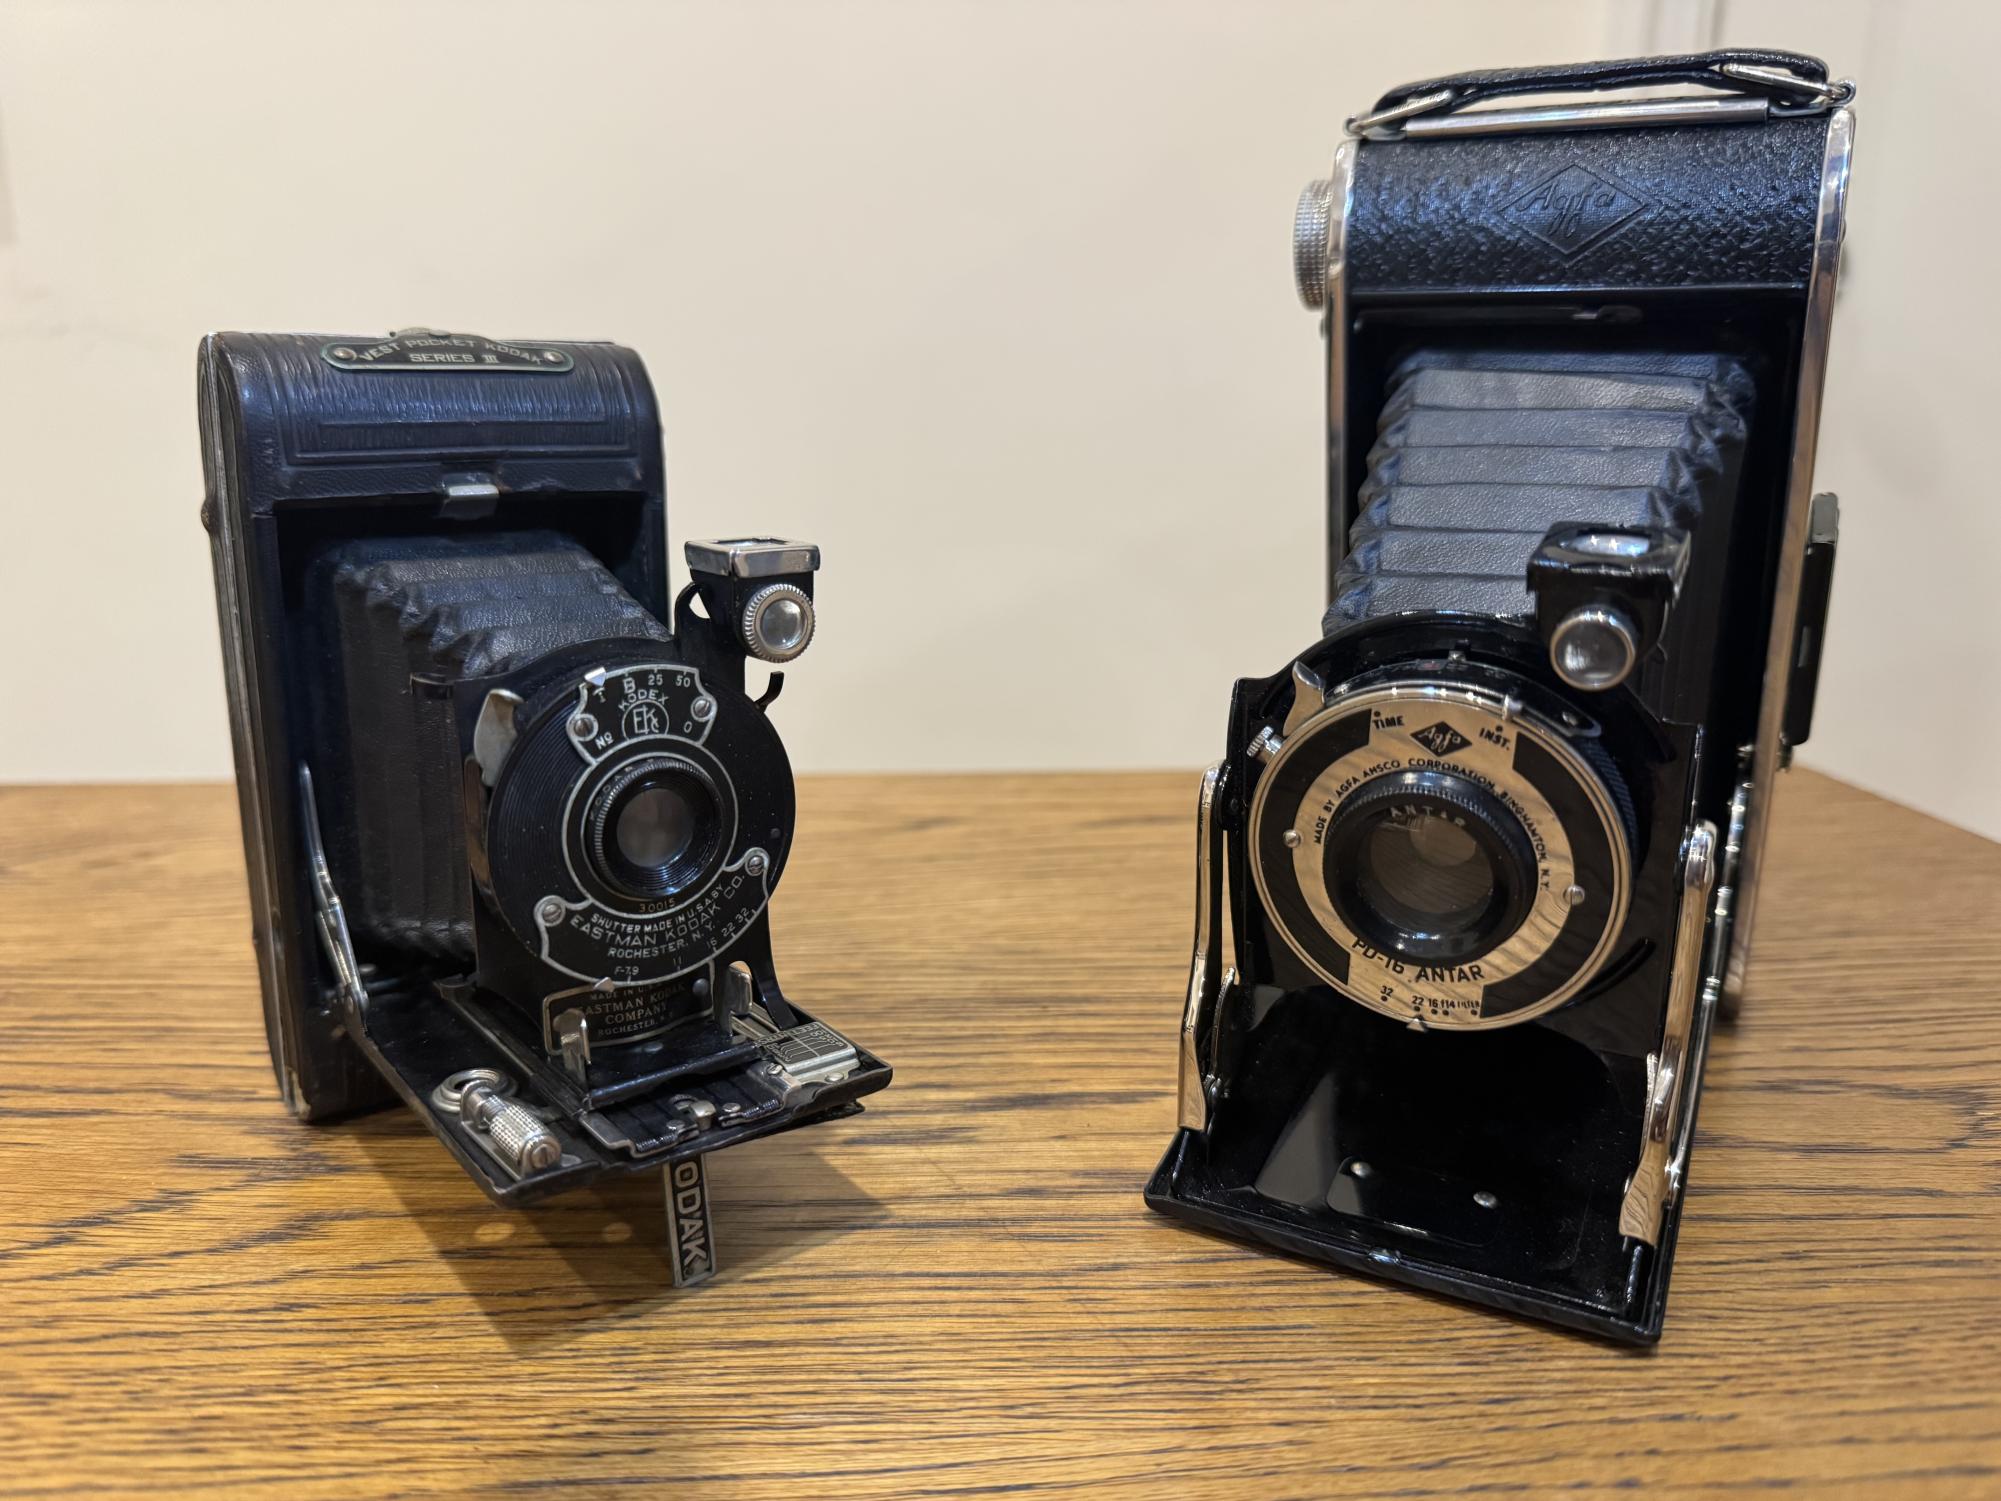
As luck would have it, I had many great aunts and uncles who had attics full of multiple generations worth of cameras, all of whom were more than happy to donate them to me. Bit by bit, all of my family’s old cameras trickled down to me. The oldest one I have is a Vest Pocket Kodak Series III, from around 1934. One unique thing about the Vest Pocket camera is that it actually was built with a focus.
Possibly my favorite to use is a Mamiya C330 — it’s the only one I have that was made specifically for 120 film, and is still in pretty good condition. Most cameras develop complications after sitting in attics for decades and, as far as I can tell, shutter problems are the most common.
In the end, film photography didn’t make me a better photographer, and I doubt it would make anyone else a better one, either. You wouldn’t learn how to compose a good photo any better than if you simply used your phone camera. But it did make me enjoy photography more and become happier with the result. I recommend the entire process, from photographing to developing to printing, to anyone who enjoys any level of photography, as it makes the journey just as enjoyable as the destination.
Since my photographs would always look old, I figured I would stick with the theme and try not to take a photo of anything that would seem anachronistic.